
Software / BomsAI Visualizer / Guide
BomsAI Visualizer — User Guide
Everything the app does, in the order you are likely to want it. The second half — changing a visual, editing its own code, swapping its pictures for ones that move, laying your own over the top, putting two on screen at once with a fader between them — is the part worth reading even if you have been using it for a while.
Download this guide as a PDF — same words, same pictures, clickable contents.
First run — presets and textures
The app ships with no presets and no textures, on purpose: they are the work of hundreds of artists who released them under their own terms. It shows its own opening screen until you give it a folder.
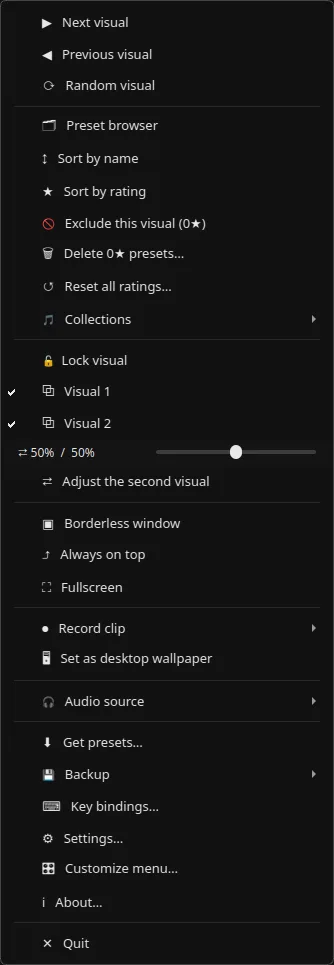
- Right-click anywhere in the window for the menu.
- Get presets… downloads a curated pack, unpacks it and points the app at it. One button, and you are done.
- Already have a pack? Settings… → Preset directory. Point it at the top folder of the pack; nested folders are read as they come.
- Set Texture directory as well. Presets that sample picture files are the best-looking ones there are, and they are exactly the ones that fall back to a plain waveform when the pictures cannot be found.
 Linux
Linux 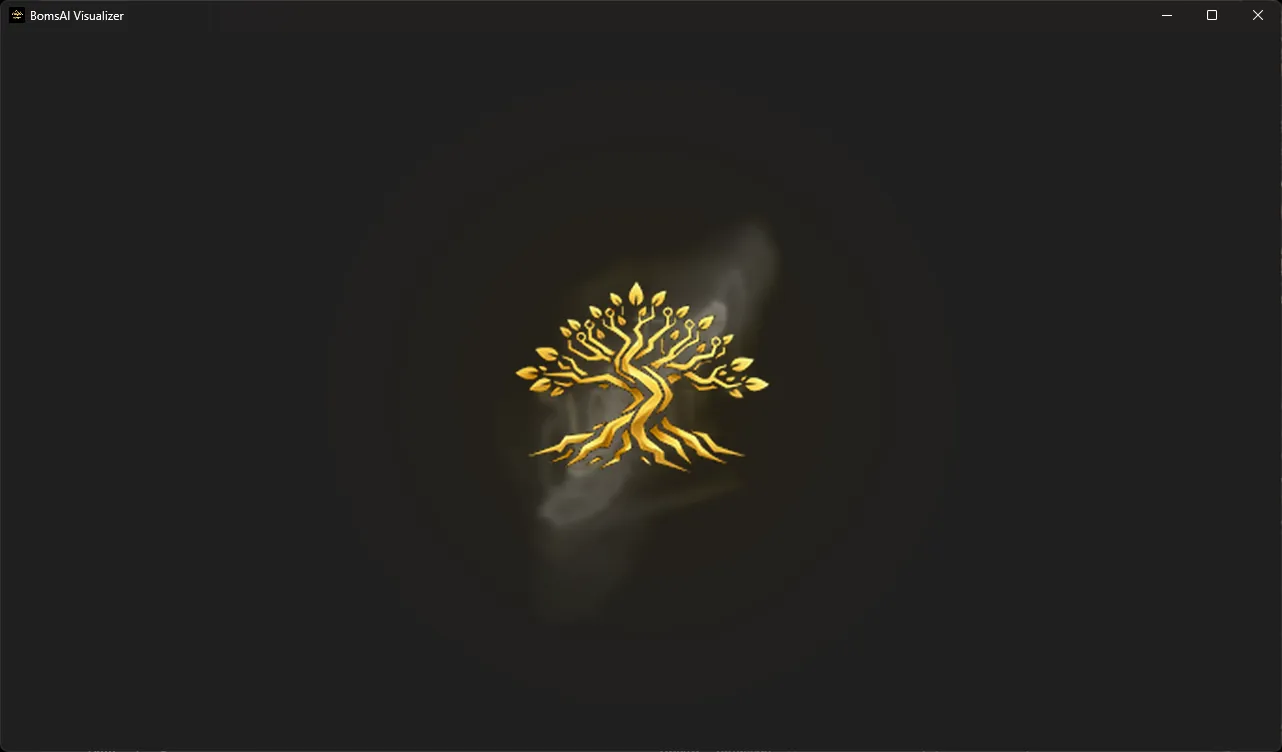 Windows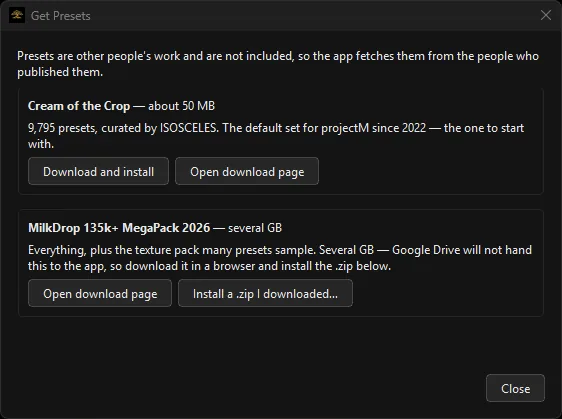
There is nothing to sign in to and nothing is uploaded. Ratings and settings are files on your own disk.
Watching
One window, and a right-click menu. Presets rotate on a timer with a random extra so the rhythm never becomes predictable; the arrow keys move by hand, Space cuts straight to the next one with no blend, and R jumps somewhere random.
F or a double-click goes fullscreen; B drops the window border. With more than one screen connected, the menu’s Display submenu decides which one fullscreen uses. Land on something you want to keep? Scroll Lock locks it and the rotation leaves it alone.
Keeping score
A ten-thousand-preset folder has maybe forty in it you would choose. This is how you find them without a tagging session.
- + and − rate whatever is on screen, 0 to 10. Every preset starts at 5.
- X excludes it outright: straight to 0, and the next one starts. Sitting and pressing X whenever something bores you is the fastest way through a pack.
- A rating of 0 drops out of the rotation entirely.
- Sort by rating puts your best at the top of the browser.
- Rated in the browser plays higher-rated presets more often instead of everything equally.
- Delete 0★ presets… removes them from disk for good, and tells you how many first. Do that for a week and ten thousand presets become your two hundred.
- Backup → Back up ratings & collections… writes a zip. This is the one part of the app that cannot be downloaded again — it is hours of you deciding what you like.
Collections
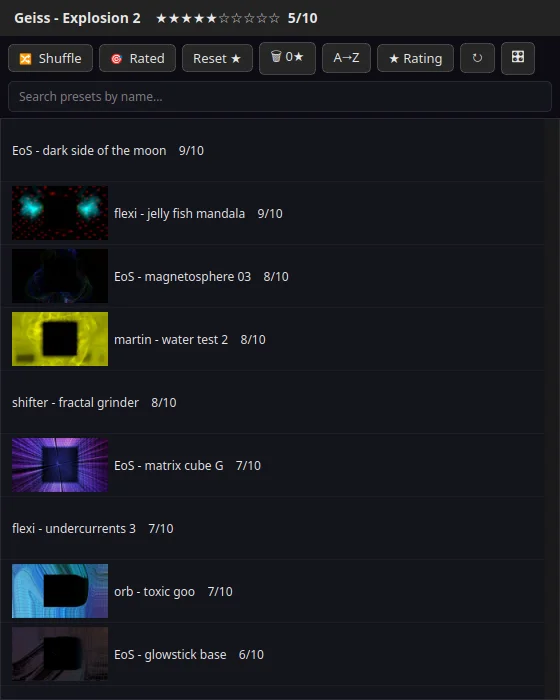
A rating says how good a preset is. A collection says what it is for — “chill”, “party”, “the ones that look good behind the icons”. The two are kept apart and neither is rebuilt from the other.
- Right-click → Collections → Add this visual to → New collection… and name it.
- Everything already in that collection is greyed out in the list, so you can see at a glance whether the one on screen is in it.
- Pick a collection at the top of the same menu and the whole rotation narrows to it. All presets puts it back.
Finding one again
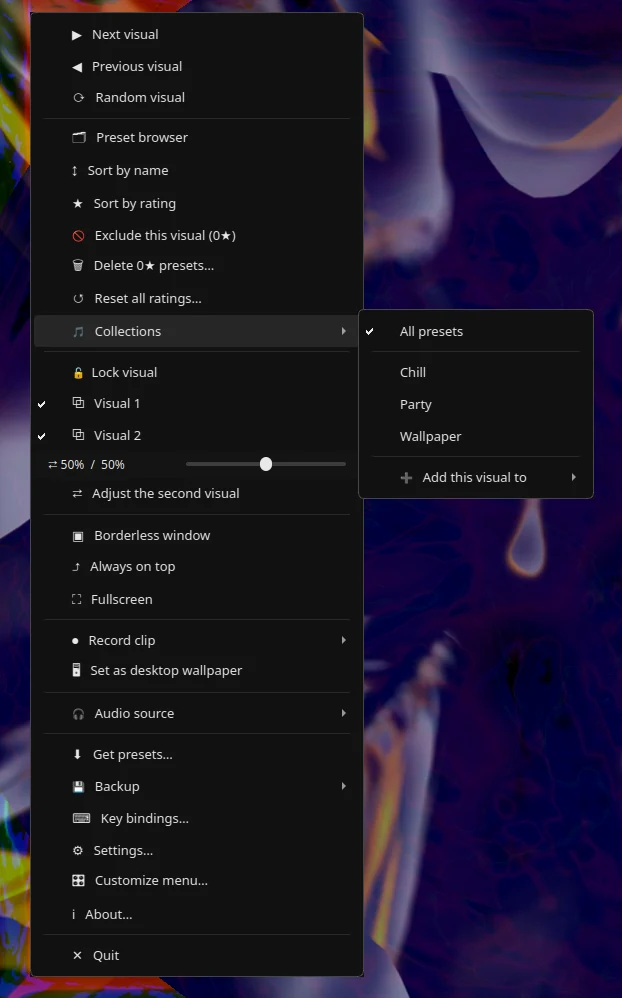
The preset browser is on the menu, or on whichever key you have bound to it. It lists the whole playlist with the current preset highlighted and its rating beside every name; double-click any row to jump there.
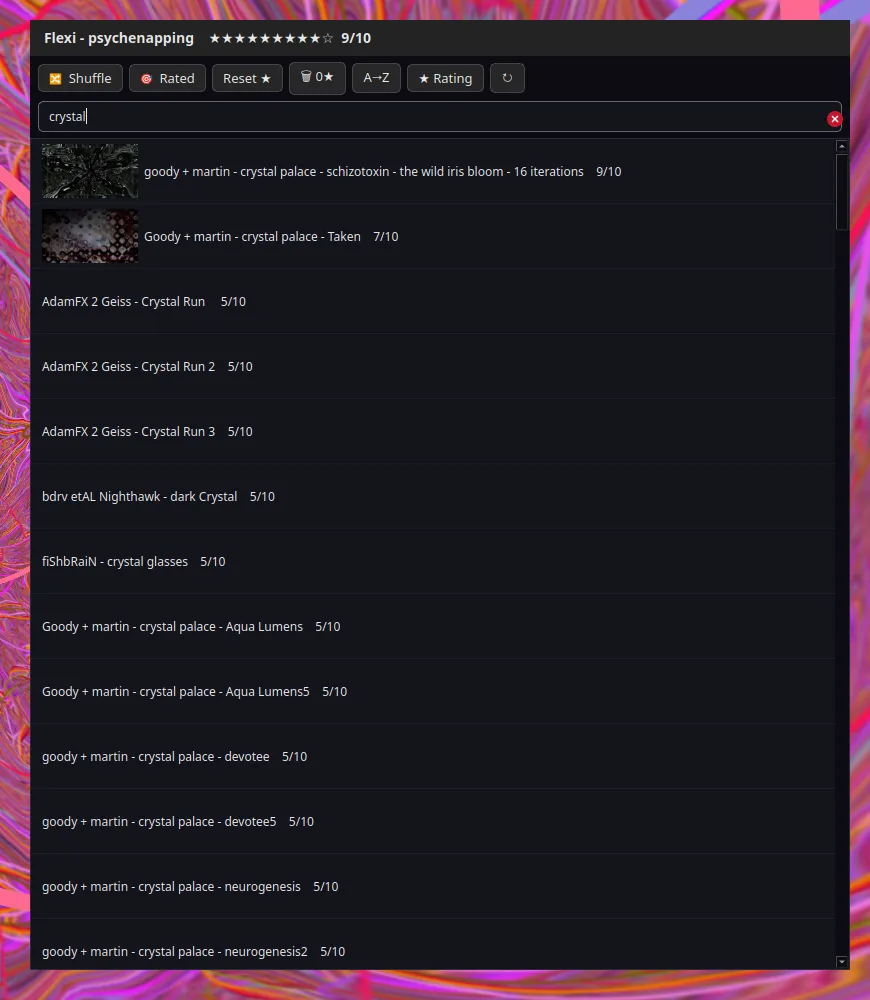
- Search narrows the list as you type. Sorting, rating and shuffle all keep working on what is left.
- Thumbnails appear beside a preset once you have watched it for about five seconds. A fresh install has none and fills in as you use it — which means the pictures you have are of the presets you actually sat through. The 🖼 button in the toolbar turns them off again, which turns the list back into plain names.
- C, or the 📷 button, takes that picture again from the frame in front of you. A preset that settles into something better a minute in gets the picture it deserves rather than the one it opened with.
- A→Z and ★ Rating re-sort the list.
Changing a visual you nearly like
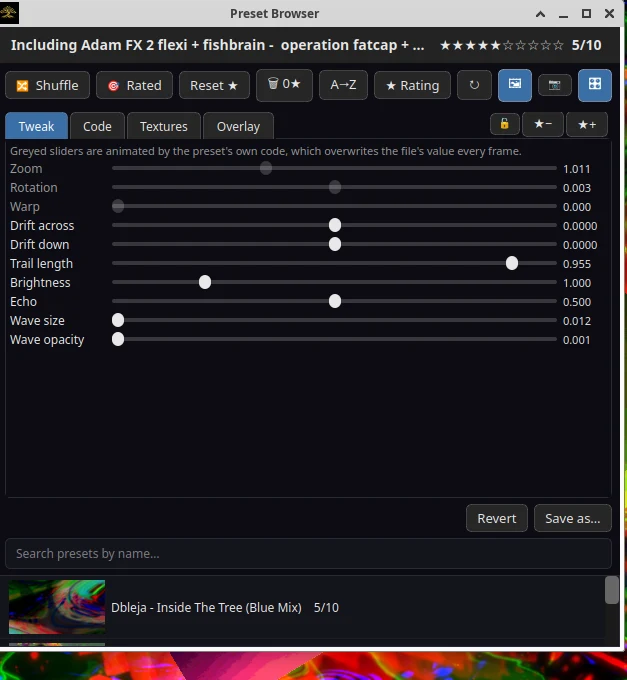
Open the preset browser and press the 🎛 button in its toolbar. The Tweak tab holds ten sliders that act on the preset playing right now, and the picture changes as you drag.
| Slider | What it does |
|---|---|
| Zoom | How far the picture pushes into or pulls away from itself each frame. Just above 1 tunnels inwards; just below, outwards. The single most dramatic control here. |
| Rotation | Spin per frame. Tiny numbers — a tenth is already a fairground ride. |
| Warp | How much the frame is distorted as it is fed back. Zero is clean, high is liquid. |
| Drift across / down | Nudges the whole picture sideways or down a fraction each frame. Small values turn a static pattern into a flow. |
| Trail length | How much of the last frame survives into this one. Low wipes the screen clean, high smears everything into ribbons. |
| Brightness | Gamma over the finished frame. Useful for rescuing a preset that is nearly black, or calming one that is blinding. |
| Echo | How strongly a scaled copy of the frame is blended back over itself. |
| Wave size | The scale of the waveform the preset draws from the music. |
| Wave opacity | How solid that waveform is. Zero hides it entirely, which some presets look better without. |
Greyed sliders. Roughly half of all presets drive their own zoom, frame by frame, from their own code. A slider that quietly loses every argument with the preset is worse than no slider, so the ones the preset animates for itself come up greyed with a note saying why.
Nothing is written to your preset file. The edit goes straight to the renderer. Revert puts it back; Save as… writes your version beside the original under a name you choose, and it joins the library as a preset of its own.
Lock and rate without leaving the panel. The three buttons at the right of the tab row — 🔒, ★− and ★+ — lock the visual so the rotation leaves it alone, and move its rating down or up. They do exactly what the keys do; they are there because while you are reading the list the keys are the thing you have to remember.
Start with Zoom and Trail length. Between them they change a preset more than the other eight put together.
Editing the preset itself
The Code tab is the preset’s own file — the equations and both shaders, as written. Apply recompiles it while it is on screen; anything that will not compile says so underneath, quoting the line the compiler objected to, instead of dropping you to a blank frame. Revert puts the file back and Save as… writes your version beside it.
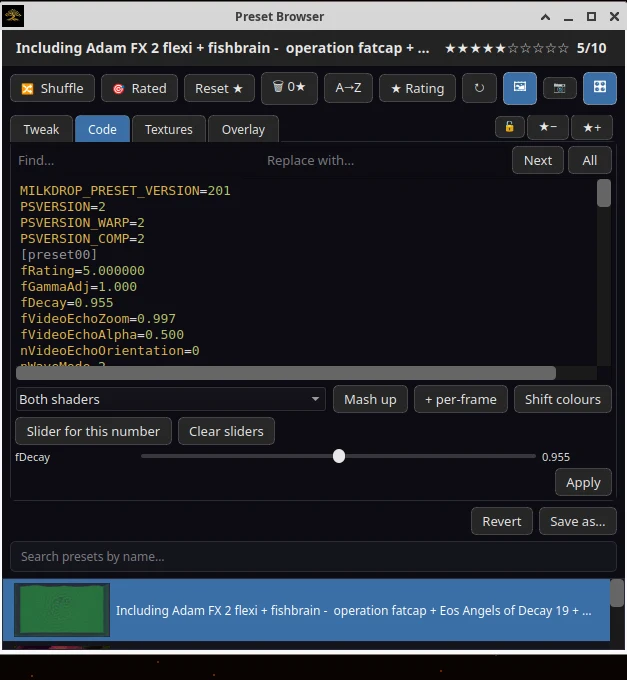
fDecay, made by putting the cursor in the number and pressing one button.- Slider for this number. Put the cursor in any number
and press it. The ten named sliders on the Tweak tab are a chosen few of
what a
.milkfile carries; this reaches all the rest, and the constants inside the shaders, which no named list could cover. Clear sliders takes them away — what they already changed stays, and Revert is what puts the preset back. - Mash up takes a share of another preset at random and grafts it on. The dropdown beside it chooses what to take: both shaders, one of them, the motion, the shapes and waves, or everything. Press it again for a different one.
- Shift colours turns every colour in the preset the same way round the hue wheel. Press again for another.
- + per-frame adds the next free
per_frame_N=line in the right place, so you can type the equation without counting which number is free. - Find and Replace with… work across the whole file, which is the only sane way to change a value a preset uses in nine places.
Mash up is the fastest route to something nobody has seen. It is also the fastest route to a black screen — Revert costs one click, so press it often and without regret.
Swapping a preset’s pictures
The Textures tab lists the picture files the preset that is playing samples. Swap any of them for a photograph of your own and the preset renders through it — the same preset, made out of your holiday snap.
- Presets that draw only from projectM’s own buffers and noise have no pictures to replace, and the tab says so rather than showing an empty list.
- Your picture goes in the app’s own folder, which it searches before the texture pack. The pack is never written to, so Restore is one click and the artists’ files are exactly as they were.
- Any
.jpg,.png,.tga,.bmpor.ddswill do. - So will a moving one. MilkDrop itself reads seven
still formats and nothing else; this hands the renderer the frames
directly, so a
.gif, a.webp, an animated.tifor a video —.mp4,.webm,.mkvand the rest — can stand in for any texture, and the preset warps it live, frame after frame. Video needs ffmpeg, the same copy recording uses; a GIF or a WebP needs nothing.
Your own picture over the top
The Overlay tab lays a picture of your own over the visuals. The presets keep changing underneath it and it stays where you put it — including the next time you open the app.
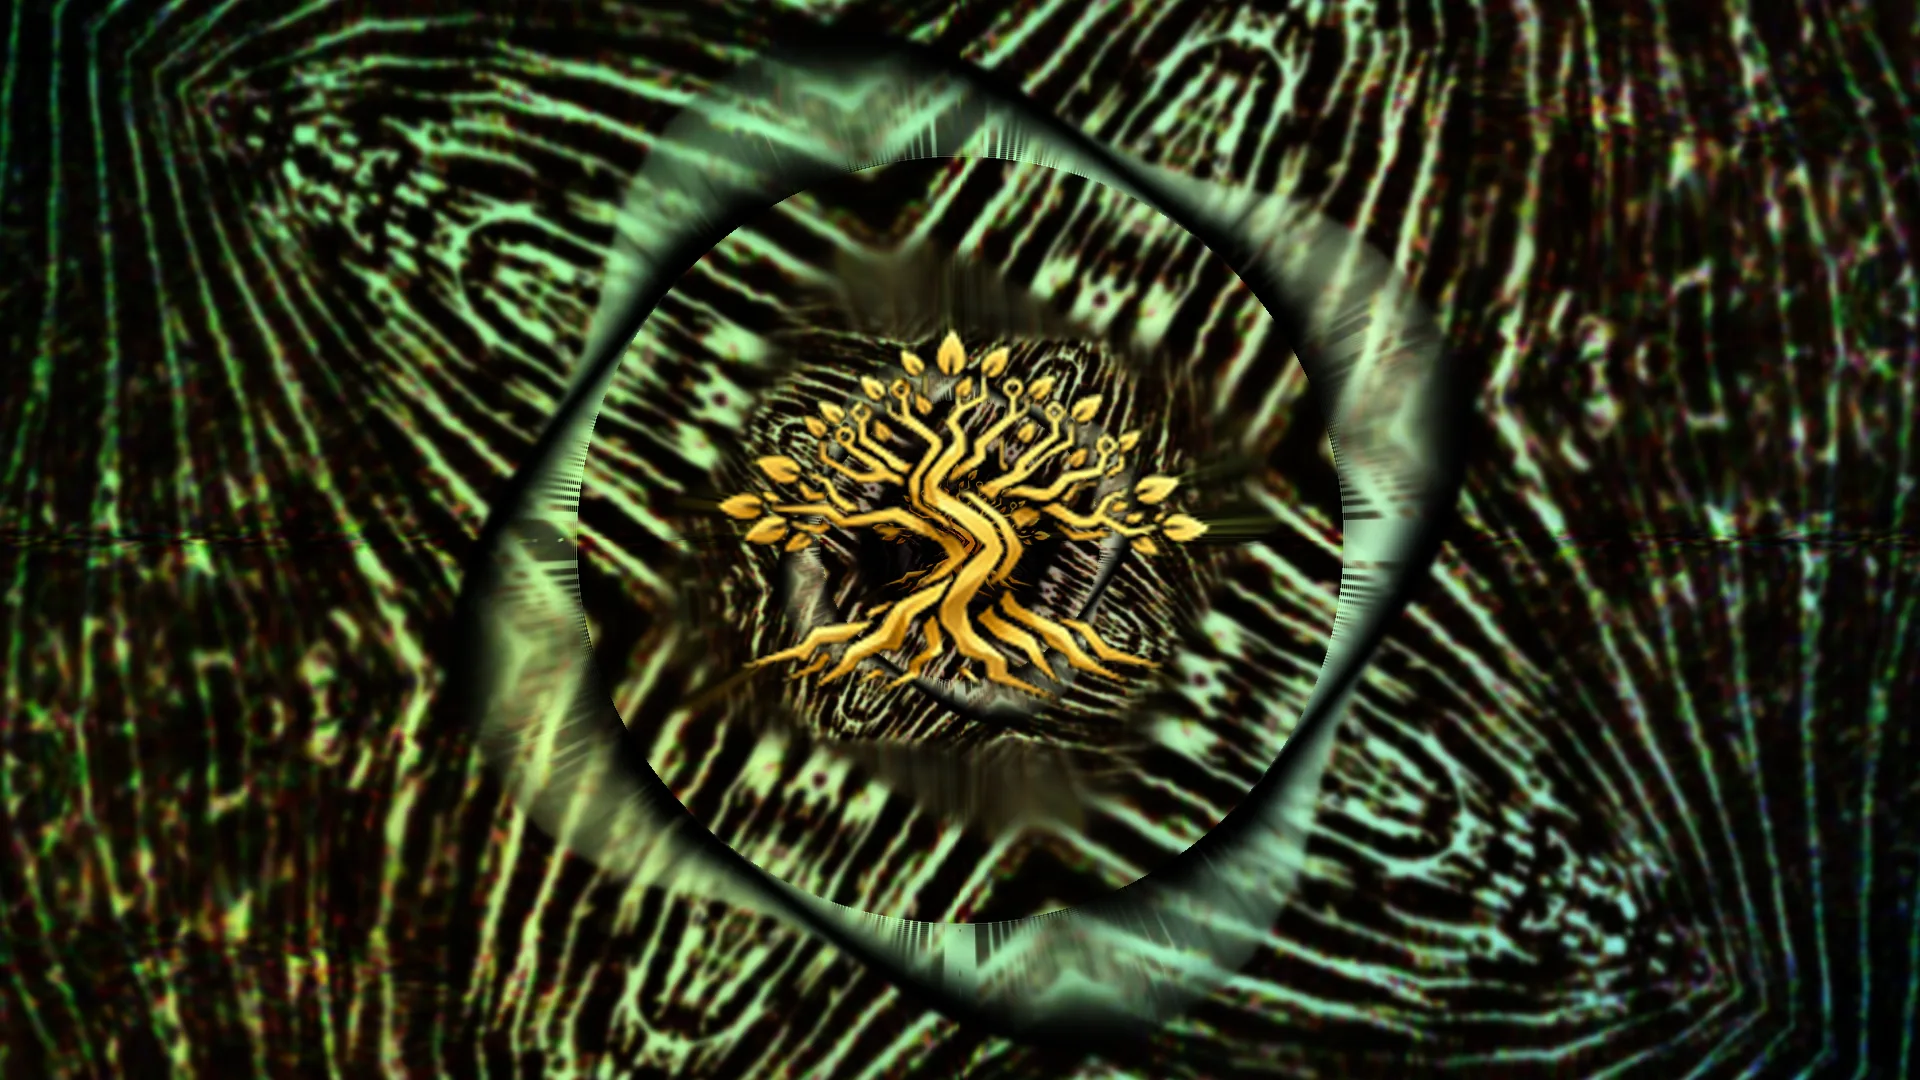
- Add a picture… and choose a file. It is copied into the app’s own folder, so moving or deleting the original later changes nothing.
- Pick a Movement: still, spinning, drifting slowly around the frame, pulsing to the beat, or spinning and pulsing at once.
- Pick a Blending — this is the one that decides whether it looks right, see below.
- Set Size and Opacity.
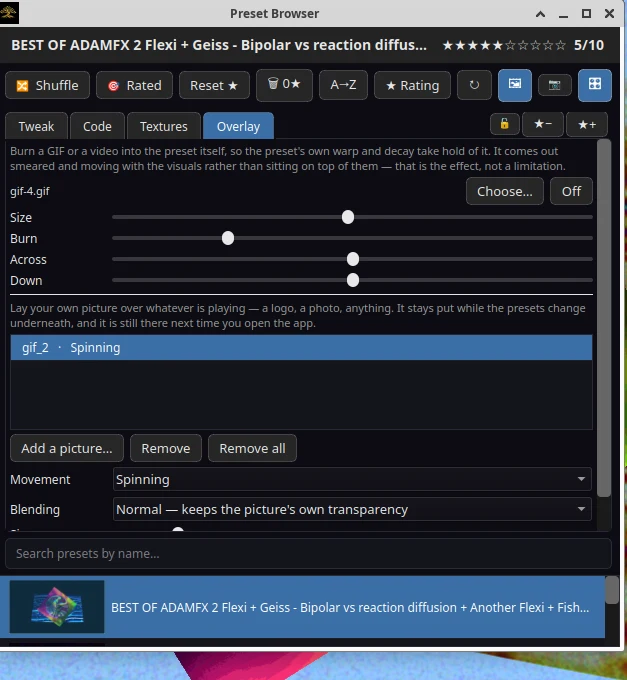
Which blending to use
- Normal keeps the picture’s own transparency. This is the one for a cut-out PNG — a logo on a transparent background comes out as the logo and nothing else.
- Additive adds the picture to what is behind it, so black areas vanish completely and bright ones glow through the render. This is the one for artwork on a solid black background, and it looks best over a dark preset.
- Solid draws the whole rectangle, transparency ignored. Use it when you want a hard-edged frame rather than a cut-out.
A picture with a black background laid on with Normal shows as a black box, because that is genuinely what the file contains. Either use Additive, or save the picture as a PNG with a transparent background.
Pictures that move
Anything the Textures tab accepts, this accepts too — so the overlay can
be a .gif, a .webp or a video, and it plays
while it sits there, spinning or pulsing to the beat like any other
overlay.
Burning one in instead
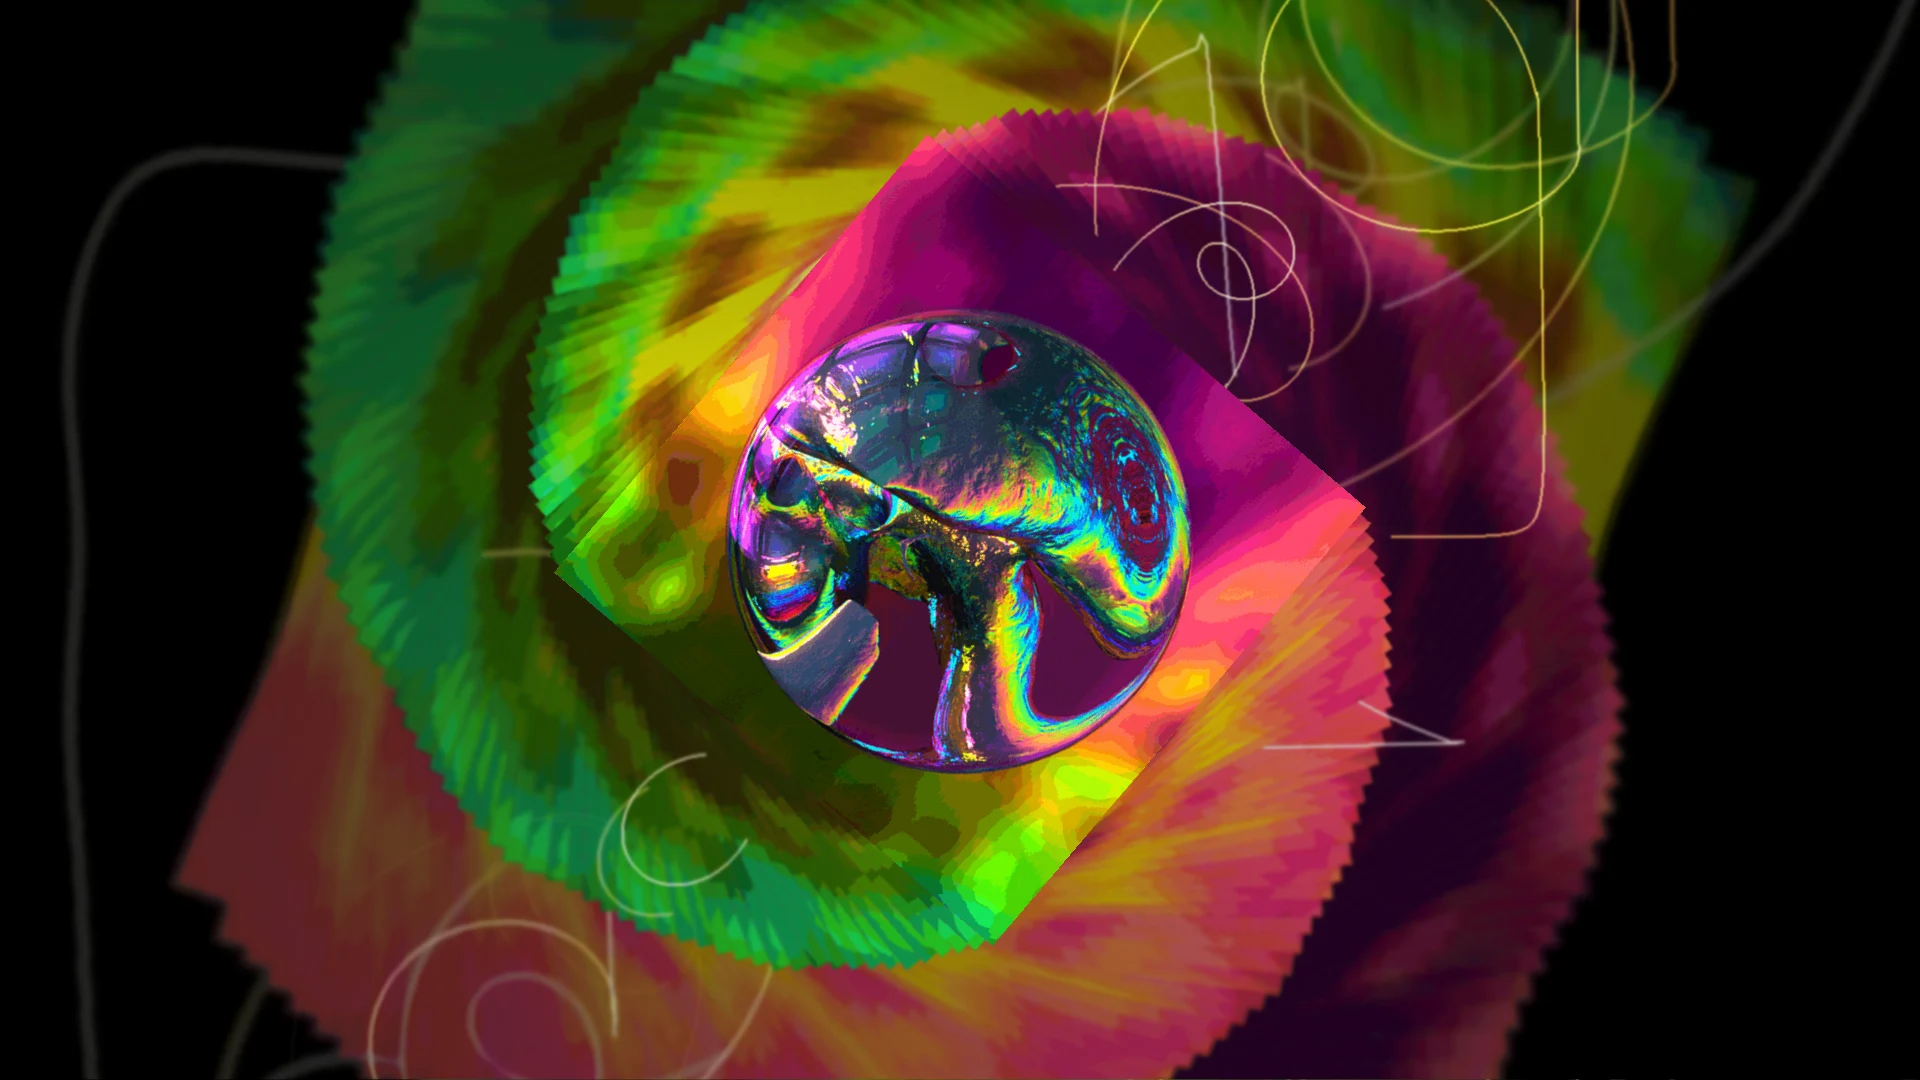
The top half of the same tab does something different with the same kind of file. Choose… a picture or a video there and it goes into the preset rather than on top of it, which means the preset’s own warp, drift and decay take hold of it: it smears, echoes and travels with the visuals instead of sitting still over them.
- Size is how much of the frame it covers, and Across and Down are where it sits.
- Burn is how strongly it goes in each frame. Low leaves a ghost the preset pulls apart; high keeps it legible.
- Off stops it. Nothing is written to the preset file — as with everything else here, the original on disk is untouched.
Burnt in, a logo comes out smeared and moving rather than crisp. That is the effect, not a limitation — if you want it crisp and still, lay it over the top instead.
Pictures live in the app’s own sprites folder, which is
searched after everything else and given a spr_
prefix, so an overlay called cells.png can never be picked up
as the cells texture a preset asked for.
Two visuals, and a fader between them
2 puts a second preset on screen beside the first, and 1 switches the first one off again — a switch each, rather than one visual with another added on top. Both react to the same music, both keep advancing on their own, and the two are never the same pair twice. One of the two always stays on: turning off the last one would leave you looking at a black window.
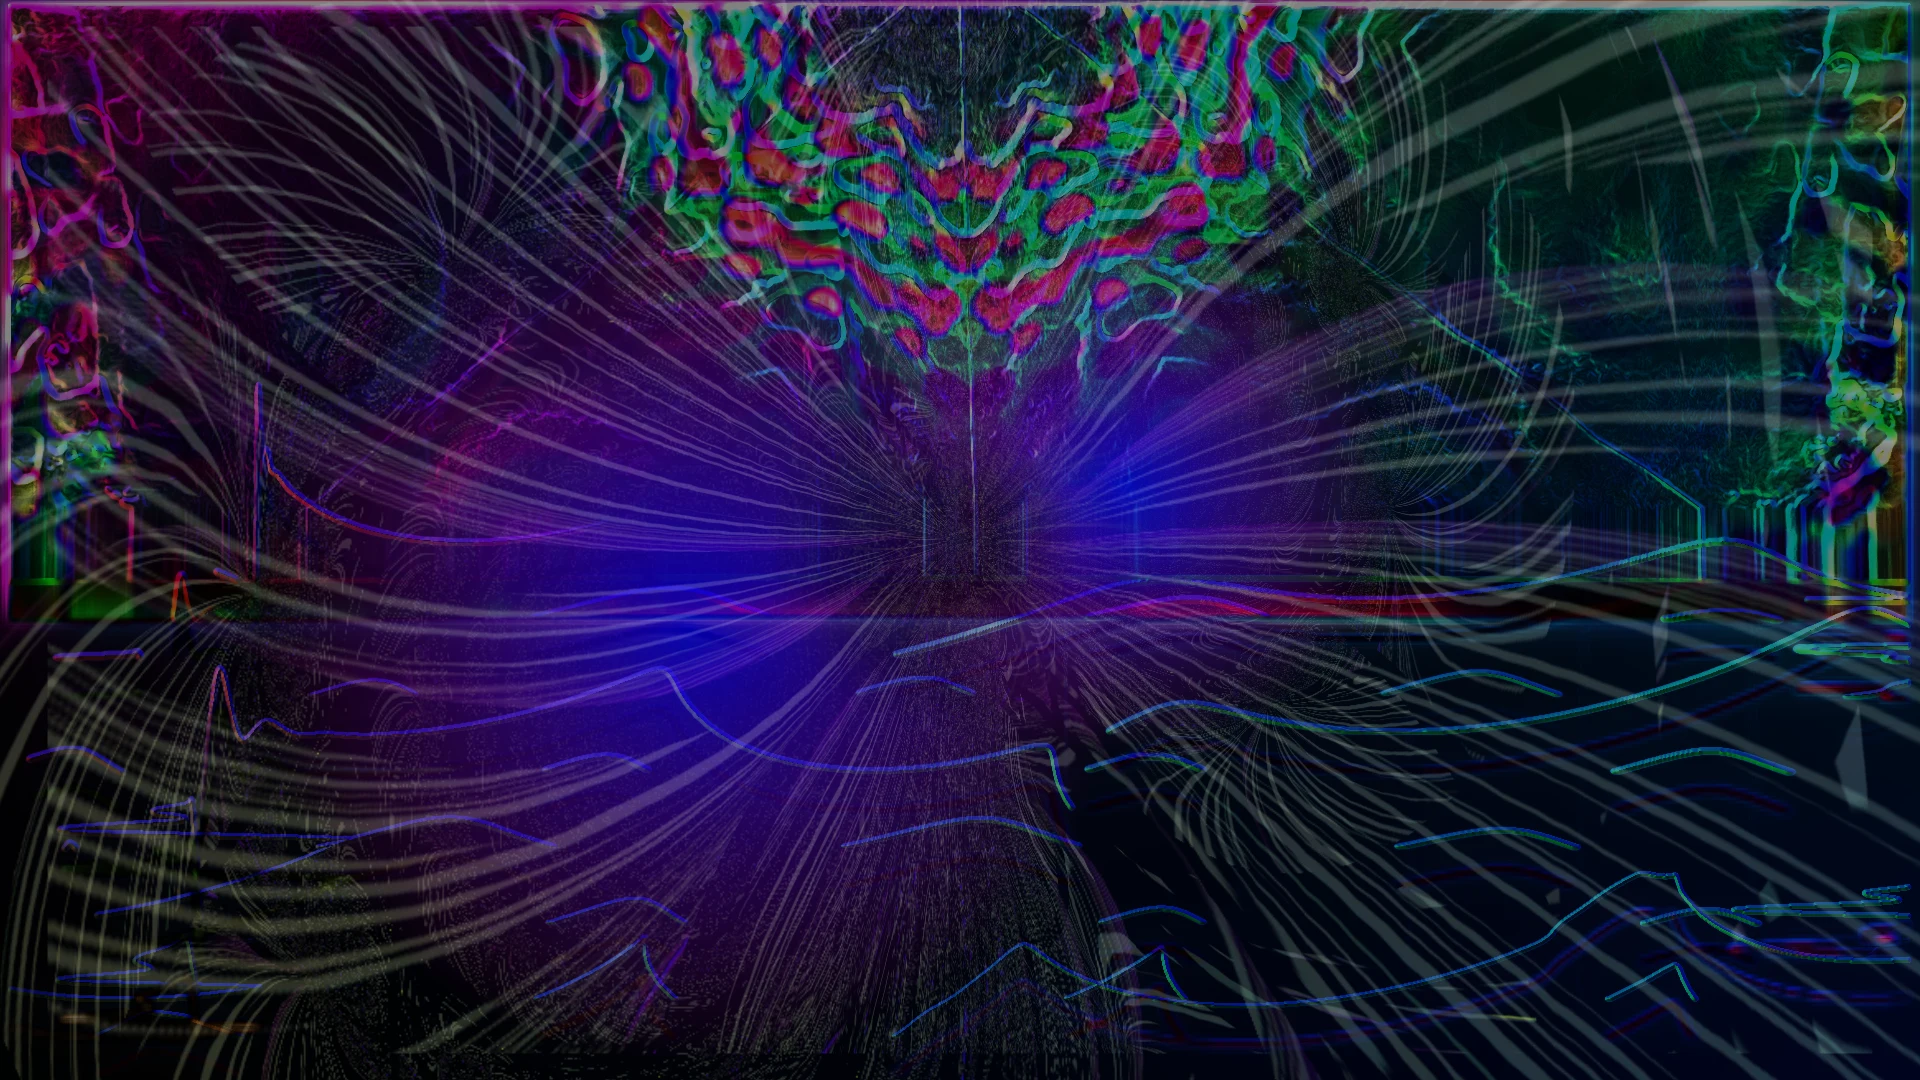
- The crossfader under the two switches in the menu is how you balance them, and [ and ] move it a twentieth at a time while you watch. Hard left is visual 1 on its own, hard right is visual 2 on its own, and the middle gives them even weight — the menu line reads 50% / 50% there, and Visual 1 only or Visual 2 only at the ends.
- Away from the ends they are screened together rather than faded, so bright parts of either survive and two vivid presets do not wash each other out to white. The result reads as one picture with more going on in it.
- Park the fader at an end and the visual it has faded out stops being drawn at all, rather than being drawn and then hidden — so the card gets that work back. The trade is that it also stops advancing, which is what off should look like.
- Tab swaps which of the two everything else is pointing at — the browser, the ratings, the sliders, the next-visual key. The menu line says which one you are adjusting, so the other never looks broken.
- Each visual has its own Quality in Settings, and visual 2 starts at Low. Two presets is roughly twice the work; a machine that runs one comfortably is not promised to run two.
- On more than one monitor, Send visual to in the menu gives them a screen each — visual 1 to one, visual 2 to the other. Point both at the same screen and you are back to the two of them sharing it, which is what the fader is for. Sending visual 2 somewhere switches it on, since an empty window is not worth a monitor.
- Thumbnails are refused while two are on screen, because the frame is both of them and filing it under one preset’s name would put a picture in the browser that the preset cannot produce on its own.
- Visual 2 is off by default, and both switches stay however you left them.
Recording a clip
F9 starts recording what is on screen and stops it again, or use Record clip in the menu. MP4 for a video, GIF for something to post.
- Clips carry the sound that drove them: the audio is captured off the same system output the visuals are reacting to and muxed onto the video.
- Open clips folder in the same submenu takes you to them.
- Recording needs ffmpeg. On Windows a copy ships with the app. On Linux install it with your package manager, or drop the binary beside the application.
Wallpaper and screen saver
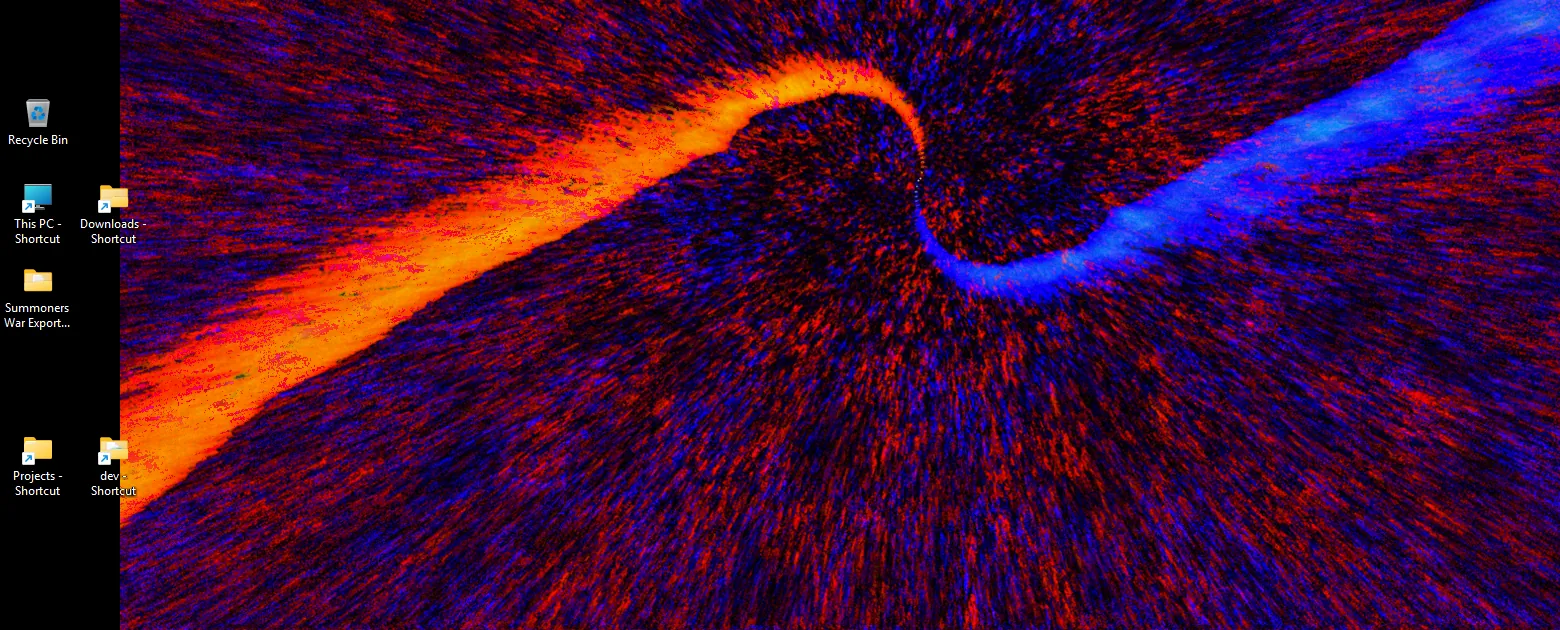
- Set as desktop wallpaper (D) draws the visuals on the desktop behind your icons. On Windows the desktop hands its clicks to Explorer, so a tray icon carries the menu while it is running. It works on Linux too, on an Xorg session — see below for what each desktop does with it.
- Screen saver (Windows). The installer wires it up if you tick the box. Any key or a real mouse movement ends it; small movements are ignored so a resting mouse does not wake it.
- It pauses itself. After a set stretch of silence it stops drawing, and it stops the moment a game or a film goes full screen. Sound comes back and so does the wallpaper, on the preset it left off.
- At login in Settings starts it with you, as a window or straight into wallpaper mode.
Wallpaper mode on Linux
It asks the window manager to treat the visualiser as the desktop and put it at the bottom of the stack, which is a thing X11 has a name for and Wayland does not. What you get depends on the desktop:
- Cinnamon (tested on Linux Mint) — the visuals go behind the desktop icons and the icons stay where they are, the same as on Windows. Any Xorg desktop that draws its icons in a window of their own works the same way. Compositing has to be on, which it is by default.
- Xfce — xfdesktop paints the wallpaper and the icons on one window, so there is no gap to slide into: the visuals end up in front and the icons are hidden while it runs. Turning desktop icons off in the Xfce desktop settings gets you the wallpaper without losing anything. The app says so on screen rather than pretending it worked.
- Any Wayland session — not available, and the app tells you why. Wayland gives an application no way to draw beneath the desktop icons at all. Pick “on Xorg” at the login screen if you want it.
Every setting, explained
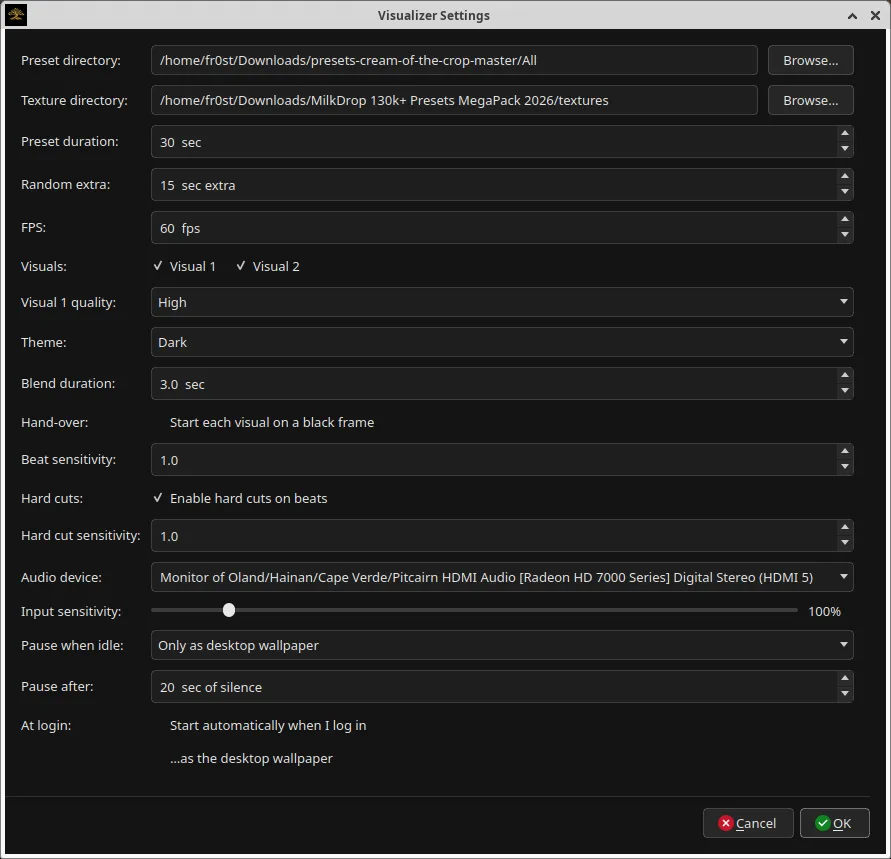
| Setting | What it does |
|---|---|
| Preset directory | The folder of .milk files. Packs are nested folders and it reads them recursively, so point it at the top of a pack. |
| Texture directory | The folder of picture files those presets sample. Without it, texture-heavy presets fall back to a plain waveform. |
| Preset duration | Seconds before it moves on by itself. |
| Random extra | Up to this many extra seconds, chosen per preset, so the cadence never turns into a metronome. |
| FPS | Frame rate cap, up to 240. |
| Visuals | A tick for each of the two. Ticking one switches it on and points the rows below at it; unticking one points them at the other, because there is nothing to set up on a visual that is not there. One of the two always stays on. |
| Visual 1 / Visual 2 quality | Mesh resolution for whichever visual is ticked above — the label says which one you are looking at. Low is a spare laptop, high is a card that can chew through it. Visual 2 starts at Low on purpose: a machine that runs one preset comfortably is not promised to run two. Visual 1 changes at once; visual 2 changes the next time it is switched on. |
| Theme | Dark, light, or follow the desktop. |
| Blend duration | Seconds of cross-fade between one preset and the next. |
| Hand-over | “Start each visual on a black frame.” Off, a new preset inherits the last frame of the old one and warps it, which is how MilkDrop always behaved and often looks better. On, every preset starts clean. |
| Beat sensitivity | How strongly the audio drives the picture. |
| Hard cuts | Let a loud enough beat cut straight to the next preset, with its own sensitivity. |
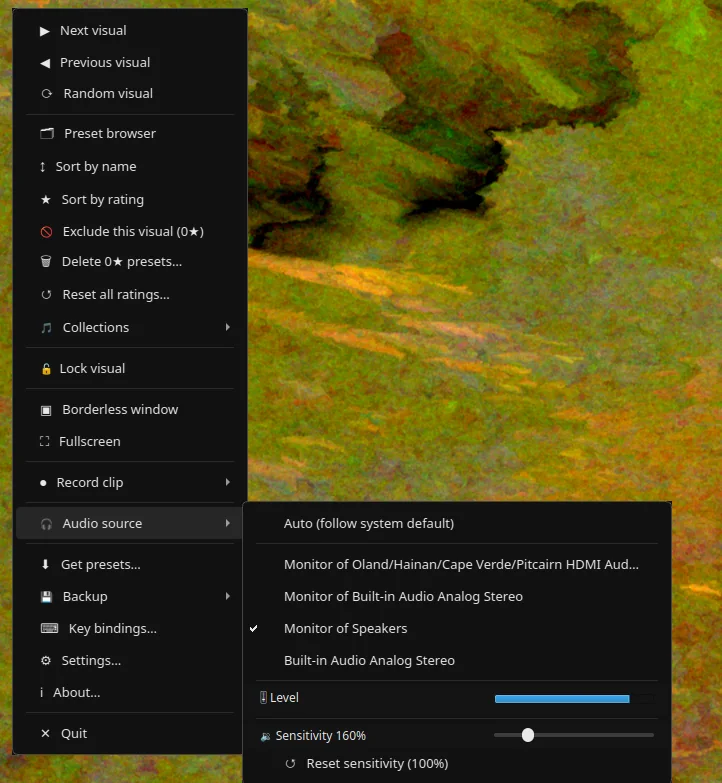
| Audio device | Which output to listen to. Auto follows the system default, including when you change it mid-song. |
| Input sensitivity | Gain on the captured audio, for material quieter or louder than the visuals expect. The level meter in the menu is how you set this without guessing. |
| Pause when idle | Never, always, or only as wallpaper. Stops drawing after a stretch of silence, and whenever a full-screen app is in front. |
| Pause after | How many seconds of silence count as idle. |
| At login | Start automatically when you log in, as a window or straight into wallpaper mode. |
 Linux
Linux 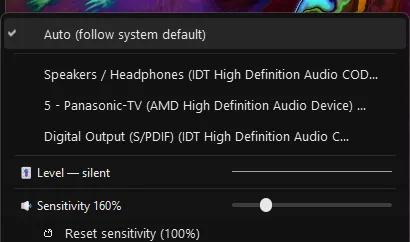 Windows
 Keyboard reference
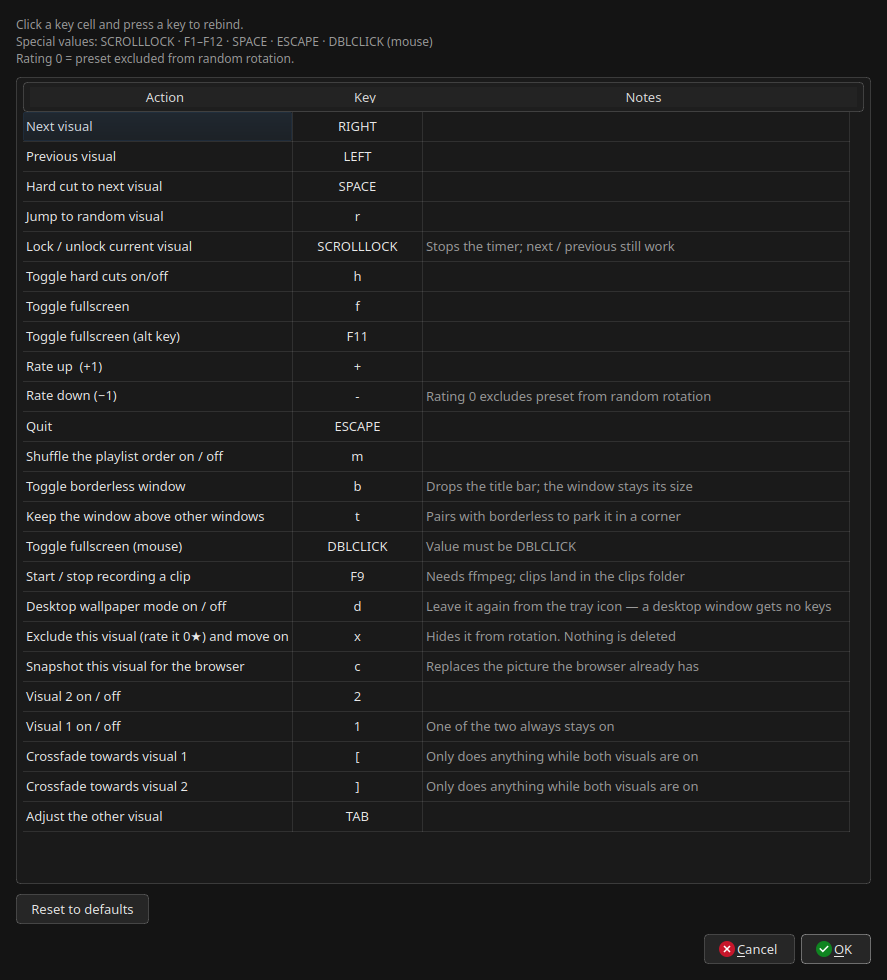
Every one of these is rebindable: Key bindings… in the menu, click the cell, press the key.
| Key | Action |
|---|---|
| → | Next visual |
| ← | Previous visual |
| Space | Next visual, no blend — cuts straight to it |
| R | A random visual |
| + / − | Rate the visual on screen up or down |
| X | Exclude this visual — sets it to 0 and moves on |
| Scroll Lock | Lock the visual so the rotation leaves it alone |
| M | Shuffle on or off |
| H | Hard cuts on beats, on or off |
| 1 · 2 | Visual 1 or visual 2 on or off. One of the two always stays on |
| [ · ] | Slide the crossfader towards visual 1 or visual 2, a twentieth of the way each press |
| Tab | Swap which of the two visuals everything else is adjusting |
| C | Take the browser’s picture of this visual again, from the frame in front of you |
| F · F11 · double-click | Fullscreen |
| B | Borderless window |
| D | Desktop wallpaper mode (Windows, or Linux on Xorg) |
| F9 | Start or stop recording a clip |
| Esc | Quit |
| Right-click | The menu — everything else is in it |
Where your files live
Nothing is stored anywhere but your own disk.
| What | Windows | Linux |
|---|---|---|
| Settings, ratings, key bindings | %APPDATA%\BomsAIVisualizer | ~/.config/BomsAIVisualizer |
| Collections, thumbnails, swapped textures, overlay pictures | %LOCALAPPDATA%\BomsAIVisualizer | ~/.local/share/BomsAIVisualizer |
| Recorded clips | Your videos folder — Open clips folder in the menu goes straight there | |
| Presets and textures | Wherever you put them. The app only reads them. | |
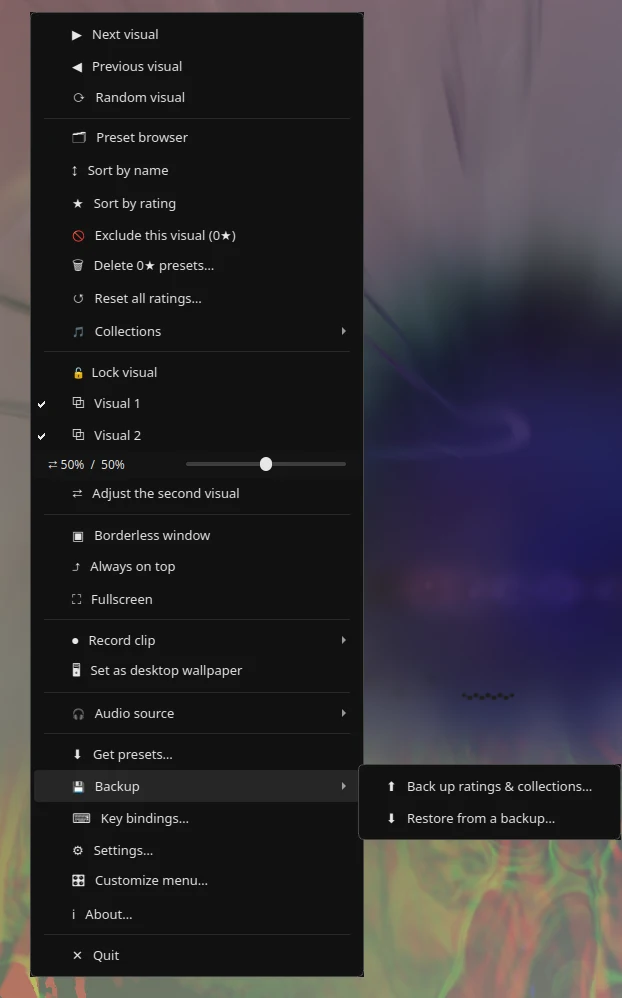
Backup in the menu writes the lot — ratings, collections, settings and key bindings — to a single file you choose, and restores it on any machine. It is the one thing worth doing before you reinstall: ratings are hours of watching.
 Linux
Linux 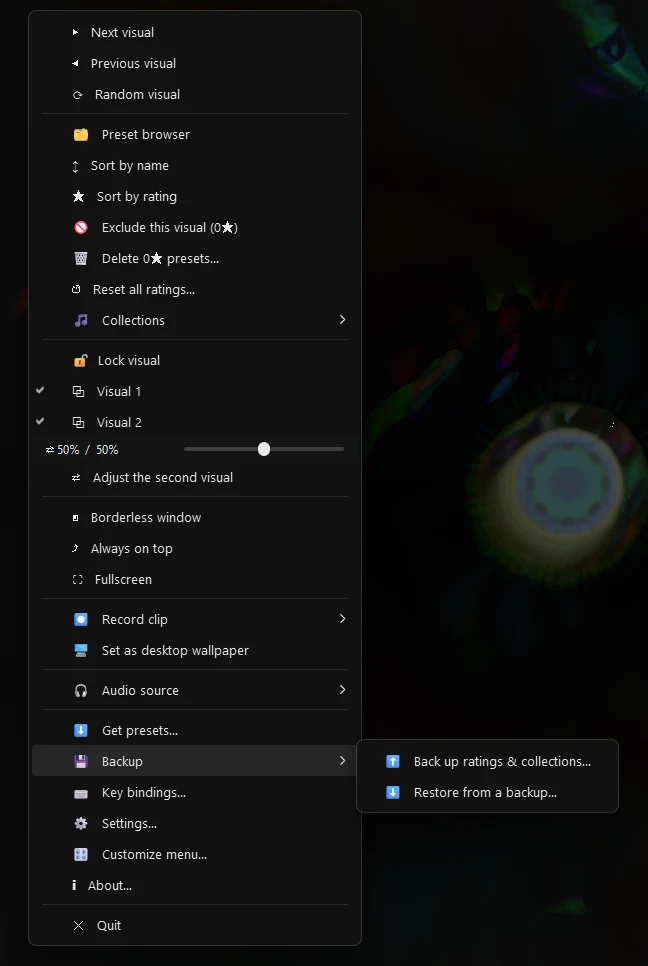 Windows
 When something looks wrong
- Presets render as a plain waveform, or solid white.
- The texture folder is not set, or is pointing at the wrong place. Settings → Texture directory. Texture packs are downloaded separately from preset packs.
- Some presets are just black.
- A few presets in every large pack have shader code that does not compile. Rate them 0 and they leave the rotation; Delete 0★ presets… gets rid of them for good.
- The picture is not reacting to the music.
- Settings → Audio device. “Auto” follows the system default output; if you are playing through something else, pick it by name. The level meter beside Audio source in the menu shows whether anything is arriving at all.
- It reacts, but barely.
- Raise Input sensitivity, watching the level meter, and then Beat sensitivity if it still feels flat.
- Recording does nothing.
- ffmpeg is missing. The Record submenu says so when it cannot find it.
- My overlay is a black rectangle.
- The picture has a black background rather than a transparent one. Switch its blending to Additive.
- It is running slowly.
- Settings → Quality down a step, and FPS to 60 if it is higher. Quality is mesh resolution and costs the most.